Templates
The Templates page (Notifications > Templates) shows a list of all the templates available, along with each template's code, description and notification method.
Template Code | Name of the template. You may also find it as Template Name. |
Template Description | Short text that describes the template. |
Notification Methods | Channel through which the user receives the notifications. The only method currently available is Push. |
Use the search bar to find a template by name.
Veritran provides a number of built-in templates, which range from simple templates with a subject and a message, to more complex templates with other optional parameters. Refer to the table below to learn more about each template available.
NOTIFICACION_SIMPLE | Allows you to create a message with a subject and a written message only. |
NOTIFICACION_TEXTO_URL | Allows you to create a message with a subject, a written message and a button to lead to a website. |
NOTIFICACION_IMG_CONSOLA_URL | Allows you to create a message with a subject, a written message, a button to lead to a website and an image from the console's library or from your computer. |
NOTIFICACION_IMG_WEB_URL | Allows you to create a message with a subject, a written message, a button to lead to a website and an image from a website. |
NOTIFICACION_AVISO_LECTURA | Allows you to create a message with a subject, a written message and a read receipt. |
NOTIFICACION_RESP_SI_NO | Allows you to create a message with a subject, a written message and a yes-no reply for the messages sent. Use this template if you want the console to be able to retrieve the number of messages replied by the users. This information is then shown in the campaign's performance section of the Campaign Details page. |
To edit a template, find it in the list and click the pencil icon to the right.
Warning
If you need to create a new template, contact your admin before clicking the Create Template button on the right side of the Templates page, as the parameters of a new template need to be configured to be interpreted by an app.
Edit a Template
To edit a template, find it in the list and click Edit (pencil icon to the right). In the Template Resume page that opens, click Edit at the bottom of the page. You are then able to modify the following fields:
Template description | Short text that describes the template. |
Time window | Time frame during which the messages of that campaign are sent. By default, the time window is set for the entire day. |
Template default subject | Subject set by default for any campaign that uses the template. When creating a new campaign, you may choose to keep the subject or to write a new one. |
Template default message | Message set by default for any campaign that uses the template. When creating a new campaign, you may choose to keep the message or to write a new one. |
Template parameters | Additional features that may be added to a template. This option allows you to include strings and resources. You may also choose not to include any parameters. Refer to the Template Parameters section to learn more. |
Click Save after completing all the necessary fields to finalize the process.
Template Parameters
This option allows you to add strings and resources to your message templates. From the strings section, you can complete the values of pre-configured components, such as buttons, and add them to your messages. From the resources section, you can choose images and videos from the console's library or from your computer and add them to your messages.
To add a new parameter, click the toggle switch in the top left corner of the section to activate the parameters option and choose the type of parameter you want to add. Refer to the example below to learn more.
The NOTIFICACION_IMG_CONSOLA_URL template allows you to add two types of parameters to the message that the users will recieve in their inboxes: a button to lead to a website and an image.
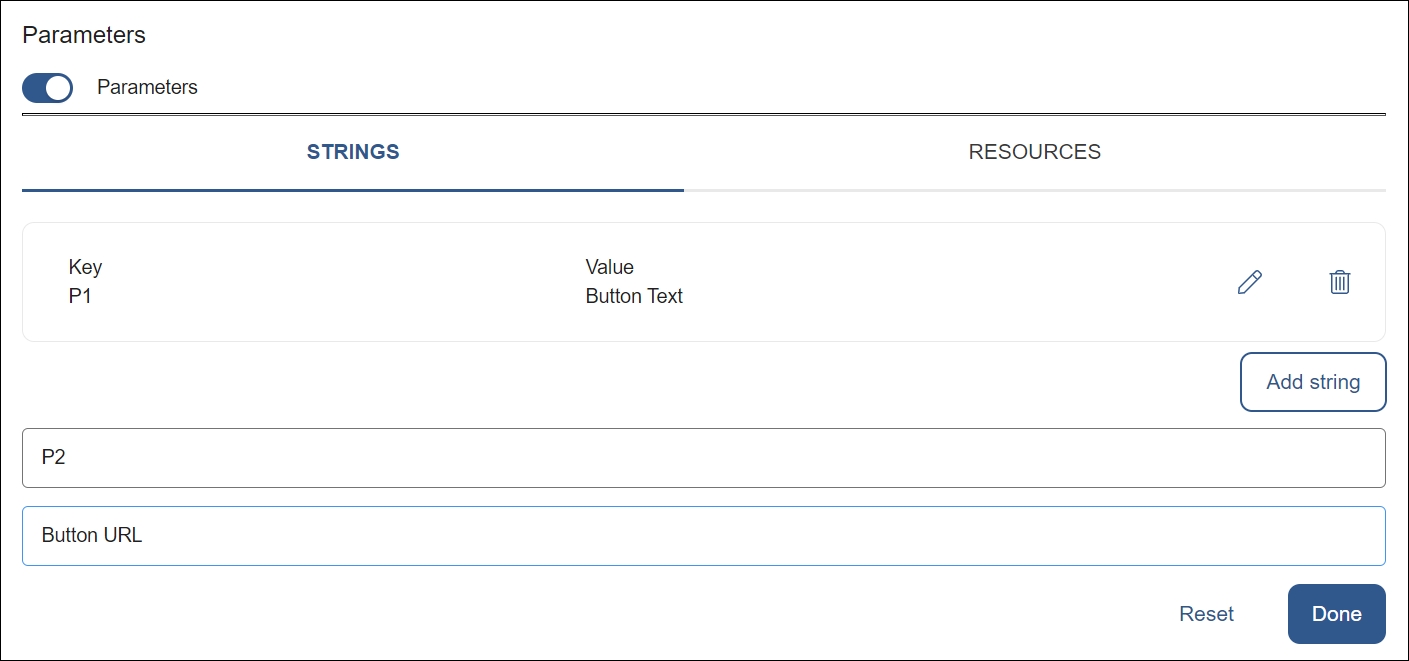
To add a button to lead to a website, open the Strings tab and click Add string to add each parameter. Complete the value of the first parameter with the button label and the value of the second parameter with the website’s URL. To edit a parameter, click the pencil icon to the right. To delete a parameter, click the trashcan icon. Click Done at the bottom of the page to save.
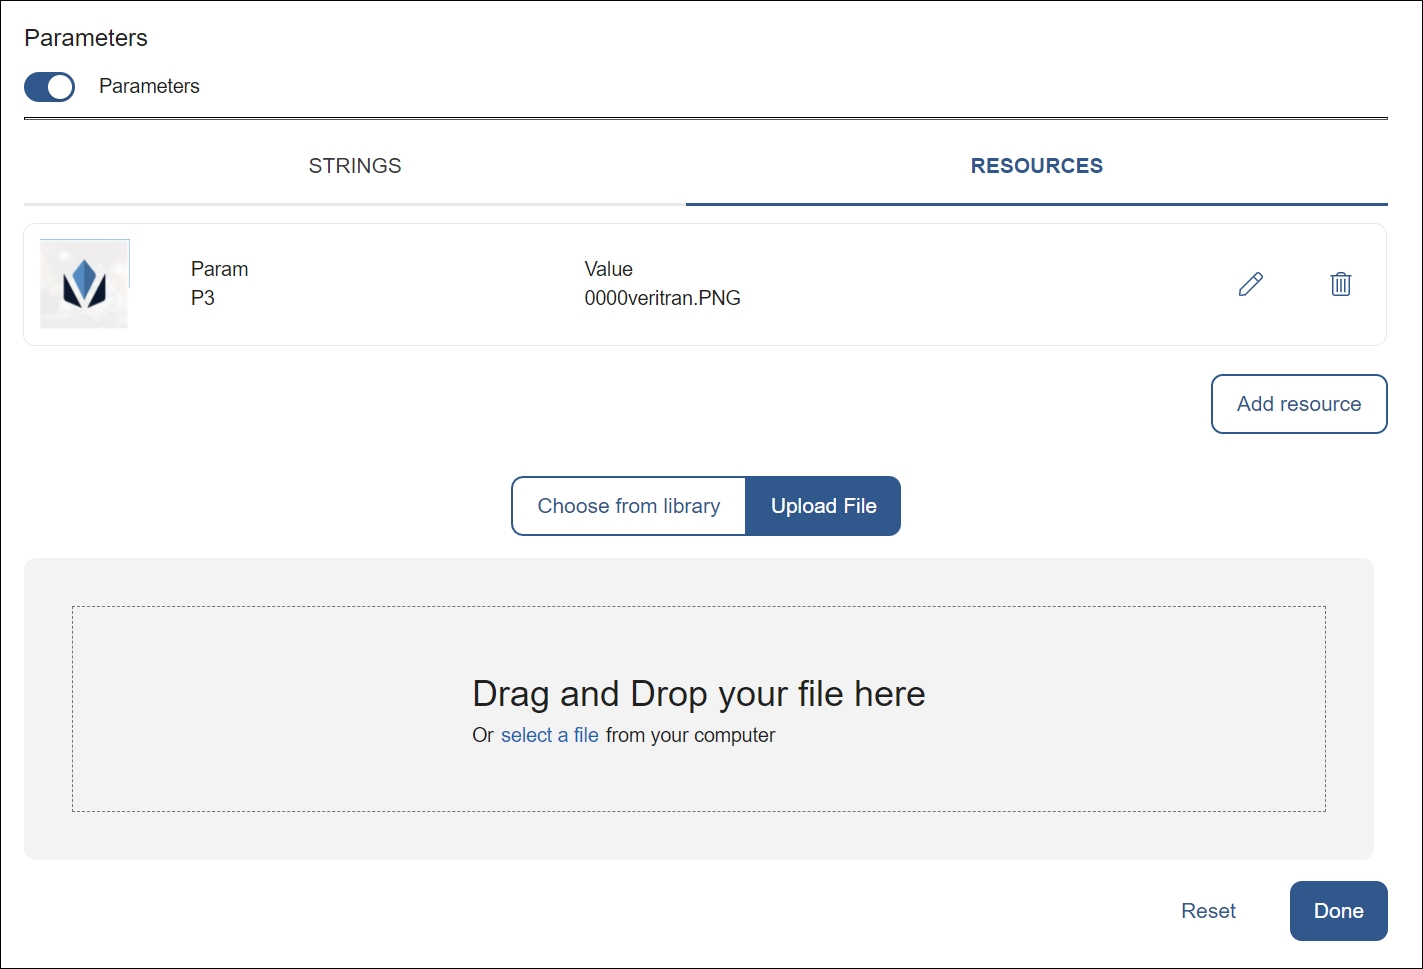
To add an image, open the Resources tab and click Add resource. You may then choose to add an image from the console’s library or to upload a new one from your computer. Once you have chosen an image, click Done at the bottom of the page to save.
To edit a resource, click the pencil icon to the right. To delete a resource, click the trashcan icon.
Important
You can edit the values of a template's parameters when creating a new campaign, but you cannot add new parameters at that stage. Be careful to make all the necessary changes to the template from the Templates page before creating the campaign.