Create a Merge Request
Create a merge request to take changes made to your branch to another branch. Refer to the instructions below to learn how to create a request.
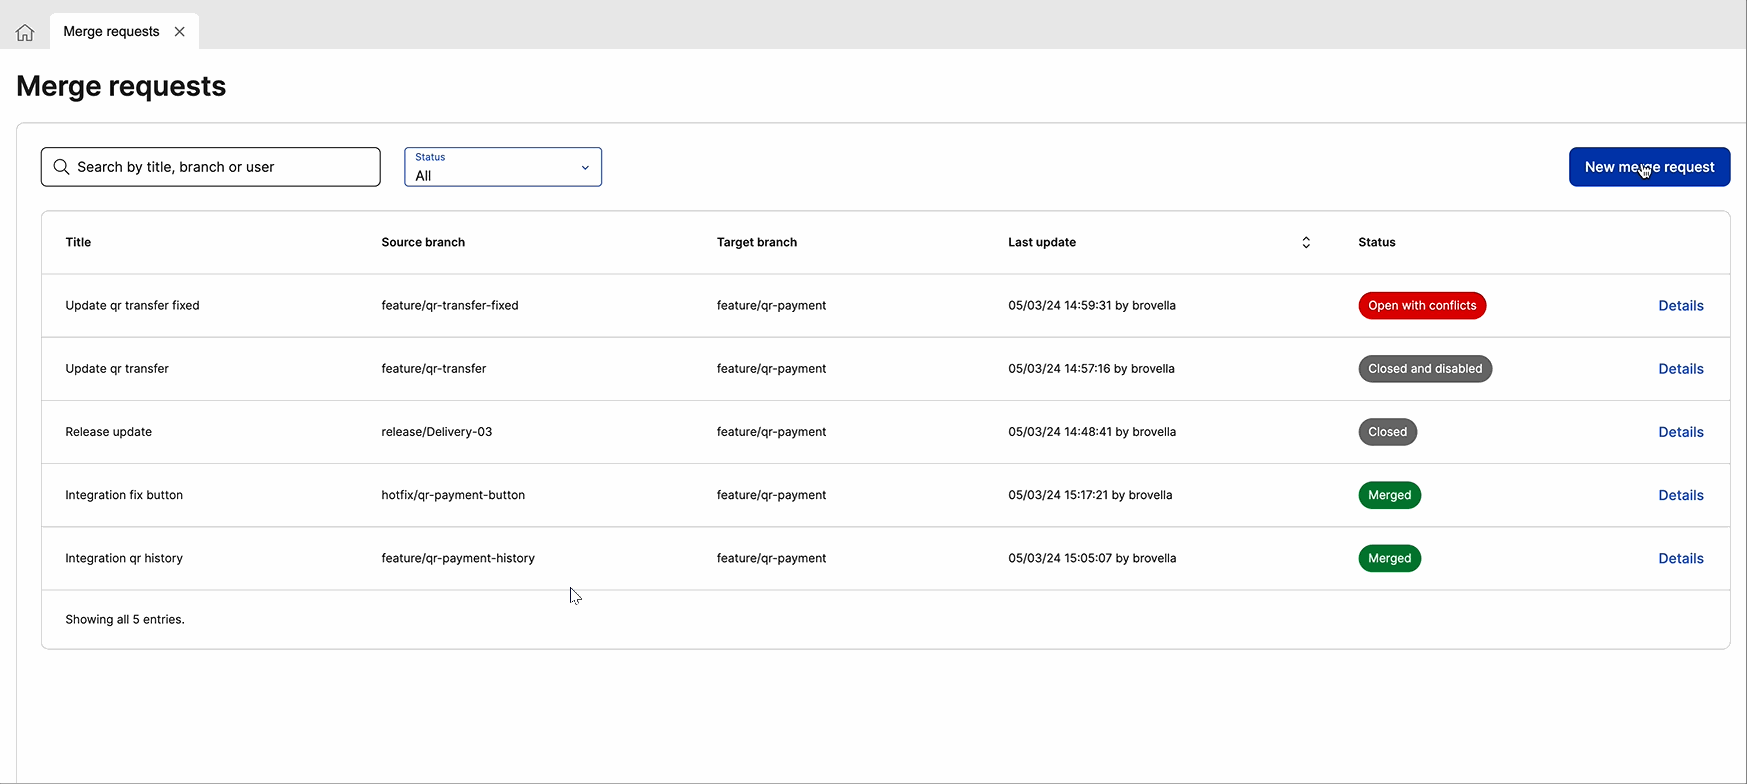
Click New merge request. The New merge request modal opens, where you complete all mandatory fields.
In the Title field, enter an alphanumeric name (up to 50 characters) to identify the request. The text should be clear enough for you and your team members to understand the main reason of the request or the task for which the source branch was created.
In the Description field, enter a text (up to 72 characters) to explain the characteristics of the merge request or help your team understand why you created it. Add the Jira ticket (project-number) to the description to automatically associate the merge request to that ticket and have a better traceability of the changes introduced.
Click the Source branch drop-down menu to unfold the list of branches and select the branch in which the changes were made and that you need to take to the target branch. You can also type the name of the desired branch and the predictive search displays a list of coincidences while you type. If you open the Merge Request page while working on a specific branch, that branch must be included as the source or the target branch. If you choose another branch as the target branch, the source branch will automatically be completed with the branch you are currently working on.
Click the Target branch drop-down menu to unfold the list of branches and select the branch to which you want to take the changes made in the source branch. You can also type the name of the desired branch and the predictive search displays a list of coincidences while you type. If you open the Merge Request page while working on a specific branch, that branch must be included as the source or the target branch. If you choose another branch as the source branch, the target branch will automatically be completed with the branch you are currently working on.
Once you have completed all the fields, click Create. Once the conflict analysis finishes and the request is successfully created, you are redirected to the Details page to review changes, solve conflicts (if any) and execute the merge. The new request appears listed in the Merge Requests page as well.
If you already know which are the steps to create a merge request, but you need further information on how to complete any specific field, refer to the merge use case scenario (How to merge branches in Studio) to see a real example of a merge request created and executed within the feature, and learn how to configure yours.