Assets Settings and Info
The Info popup appears when you add new assets and when you click the Info option in the Assets page. Depending on whether you are working with an individual asset or with multiple assets, the popup contains different options. Read the sections below to learn more.
Individual Asset
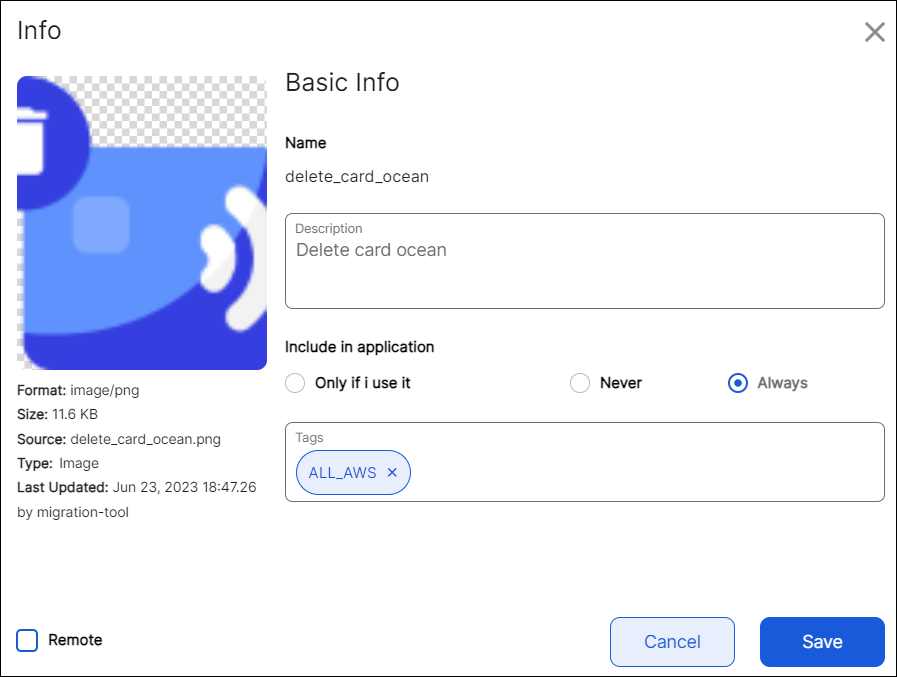
When you upload or edit a single asset, the Info popup contains the following:
A preview of the asset you are uploading or editing and file information (format, size, source, and type).
The Basic info section, where you can add or edit information about the asset.
Click Save to save your changes and close the popup.
Basic Info
The Basic Info section lets you edit your asset's description, choose asset packaging settings and add tags. You may also mark an asset as remote from this section. Refer to the table below to learn more.
Name | Name of the asset. The name is the name of the file used to upload as asset. ImportantThe asset's name cannot be edited once uploaded. | ||||||
Description | Enter a short description of your asset. | ||||||
Include in application | This field allows you to choose whether the asset will be included in the app configuration package that is downloaded to the user's device.
| ||||||
Tags | Enter tags to help you search for the asset. To add a tag, type a word and hit Enter. | ||||||
Remote | Mark an asset as remote or dynamic. Remote assets can be updated on the users' devices without the need to generate and publish a new app's configuration. To make an asset available as remote, you also need to upload it to Middleware. From there, you can update and publish your assets to make them available on the devices. Read Add or Edit a Resource in Middleware's documentation to learn more. ImportantThis feature may not be available in your Studio environment. Contact your admin for assistance. |
Multiple Assets
When you upload or edit multiple assets, the Info popup opens.
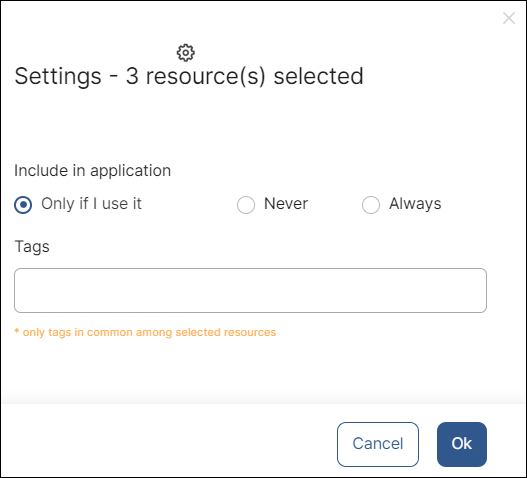
First, on the Include in application field, choose whether the assets you are uploading or editing will be included in the app configuration package that is downloaded to the user's device.
Only if I use it | The selected assets are only included if they are used in at least one of the app's screens. Use this option in all cases until every binary available for download includes the selected assets, then change it to Never. |
Never | The selected assets are not included in any configuration package. Choose this option when the selected assets are already included in every binary available for download. |
Always | The selected assets are always included in the configuration package. Use this option for debugging purposes only. |
Then, enter tags to help you search for the assets. To add a tag, type a word and hit Enter. The tags you add in this field will be applied to all the assets you are uploading or editing.
Click OK to save your changes and close the popup.