Create an App
You can use Veritran Studio to create mobile or web apps. Mobile apps can be created from scratch, or using an app template.
To get started, click Create app in the dashboard. In the popup that appears, select Mobile to create a mobile app or select Web to create a web app.
First, select From Scratch to create your app from scratch, or From Template to create your app using an app template.
Configuration:
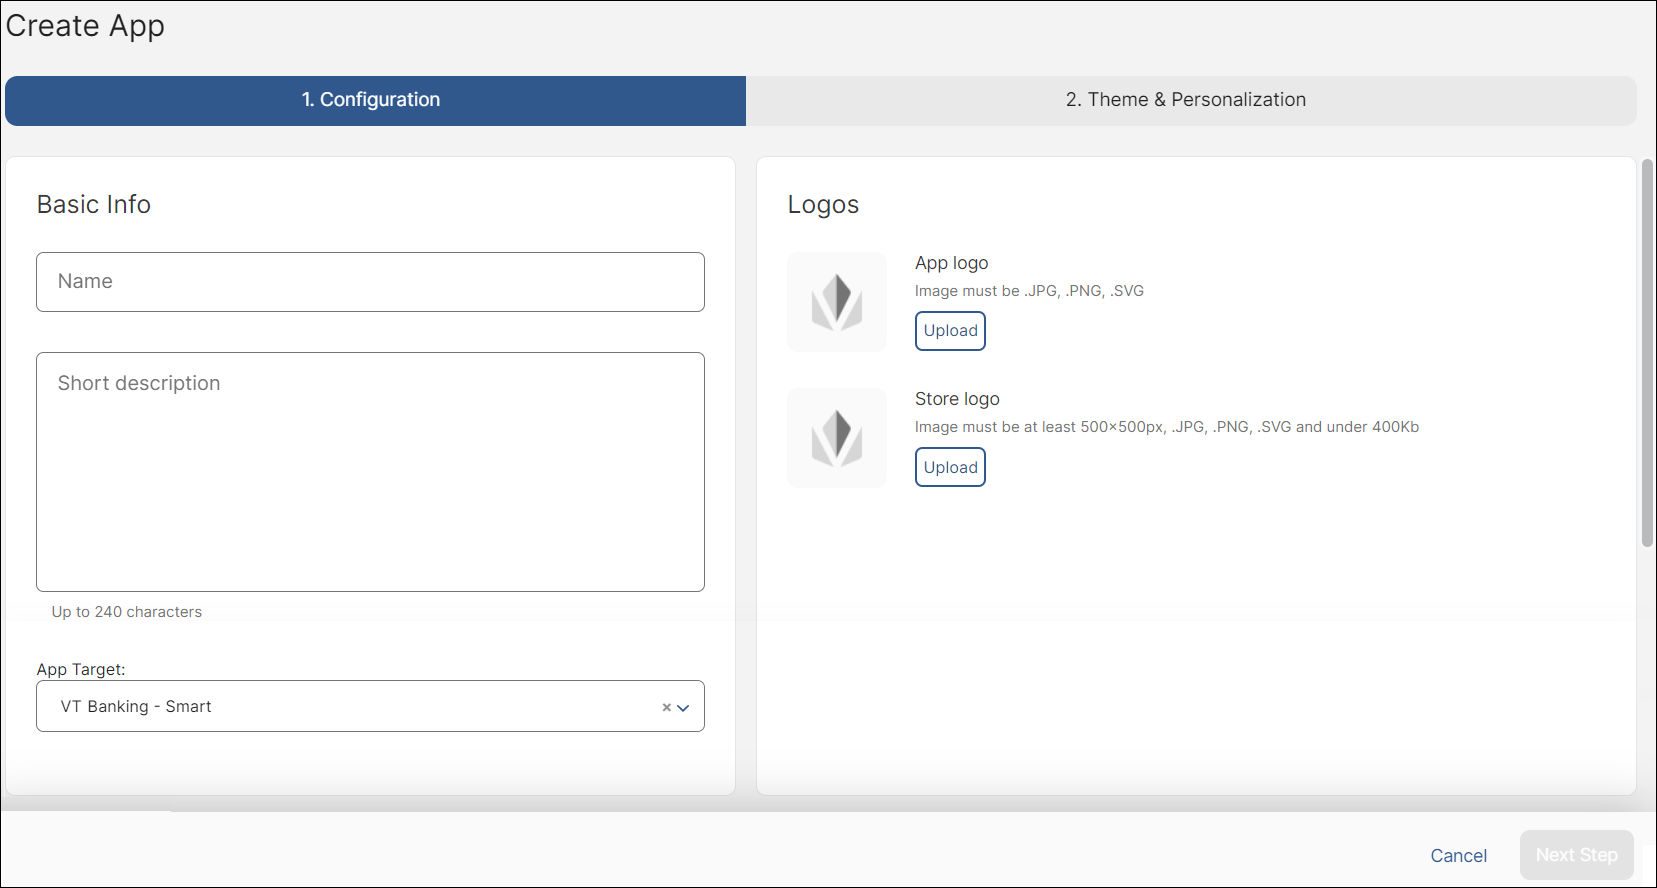
In the Basic info section, give your app a name and a description. App names must be in uppercase only and can't include spaces. For example "MY_APP_01" is a valid name, but "My App" is not a valid name. The name and description are only for internal use and do not appear in the app stores.
Important
The app's name cannot be edited once created. Choose the name carefully.
Next, add the App logo and Store logo by clicking Upload below each. The app logo will appear within Veritran Studio to identify your app, while the store logo will appear in app stores as your app's icon once it's published.
Click Next Step.
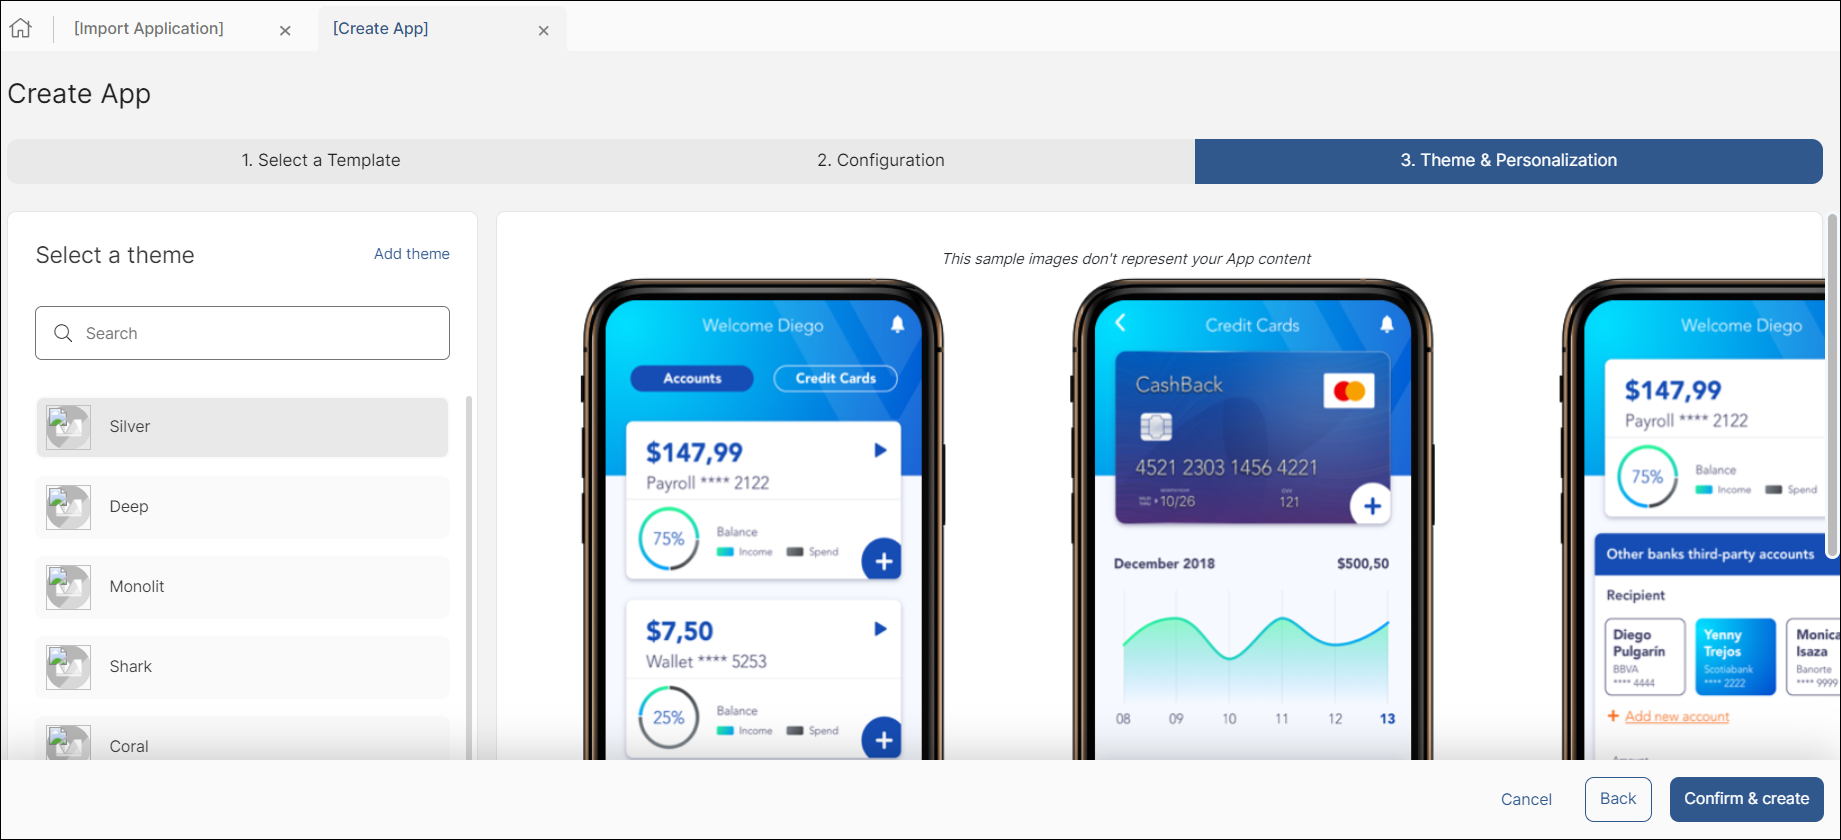
Theme & Personalization:
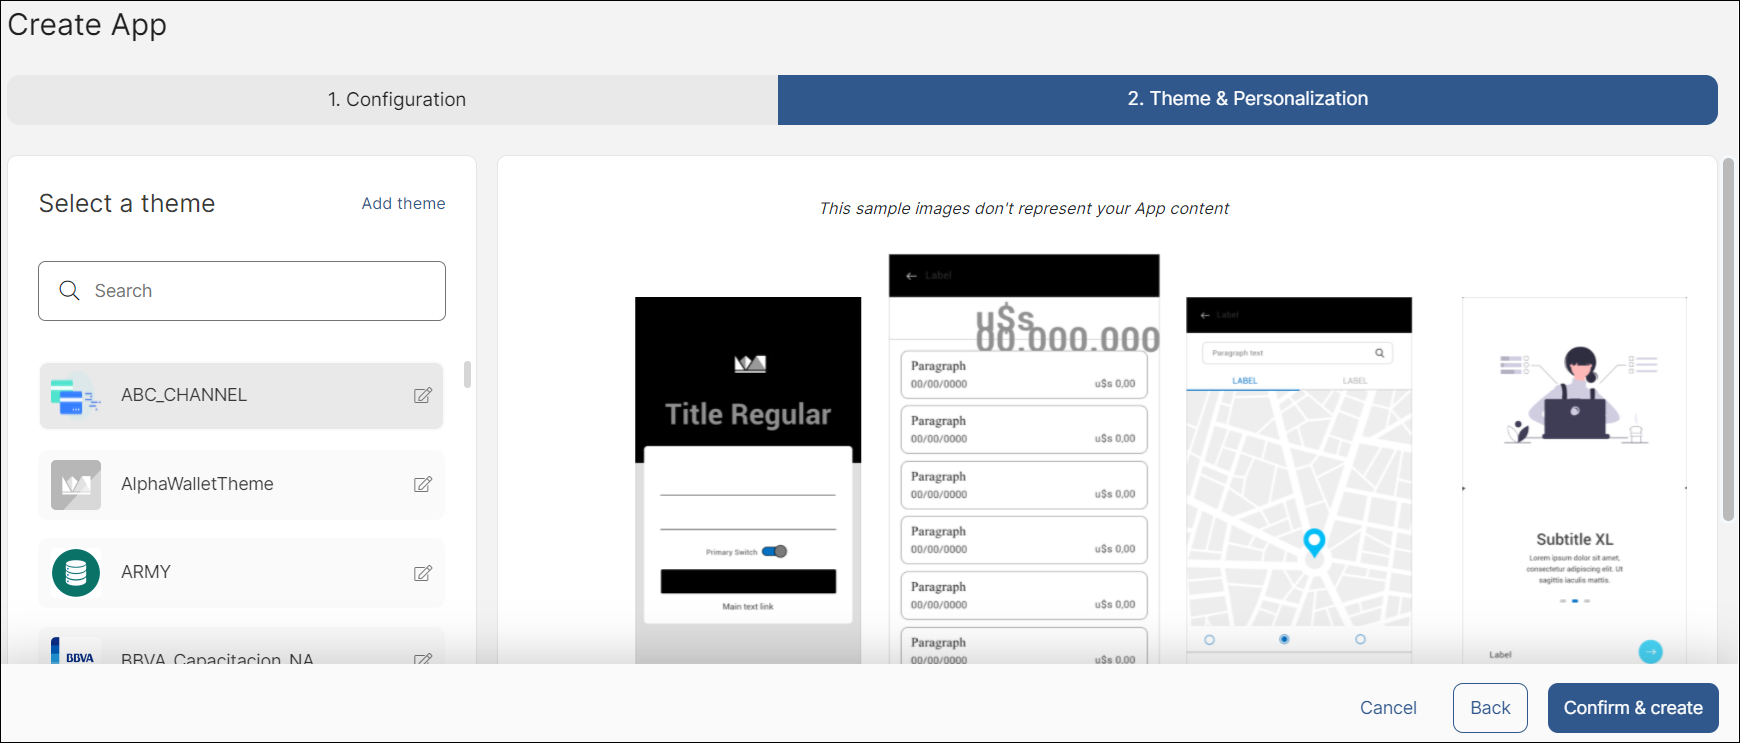
Select a theme from the left menu, or create a new theme. On the right side of the screen, you can see a preview of the selected theme. Click Confirm & create.
A popup appears to show the app was created successfully. Click Start Building to finish the creation process and open the app in the Visual Builder, or click Go to My Apps to go back to the My Apps page.
Important
To use this feature, you must have a Veritran Marketplace account with the same user credentials as your Veritran Studio environment.
Select a Template:
The list shows all the app template extensions you have subscribed to. You can find new app templates to subscribe to in the Veritran Marketplace.
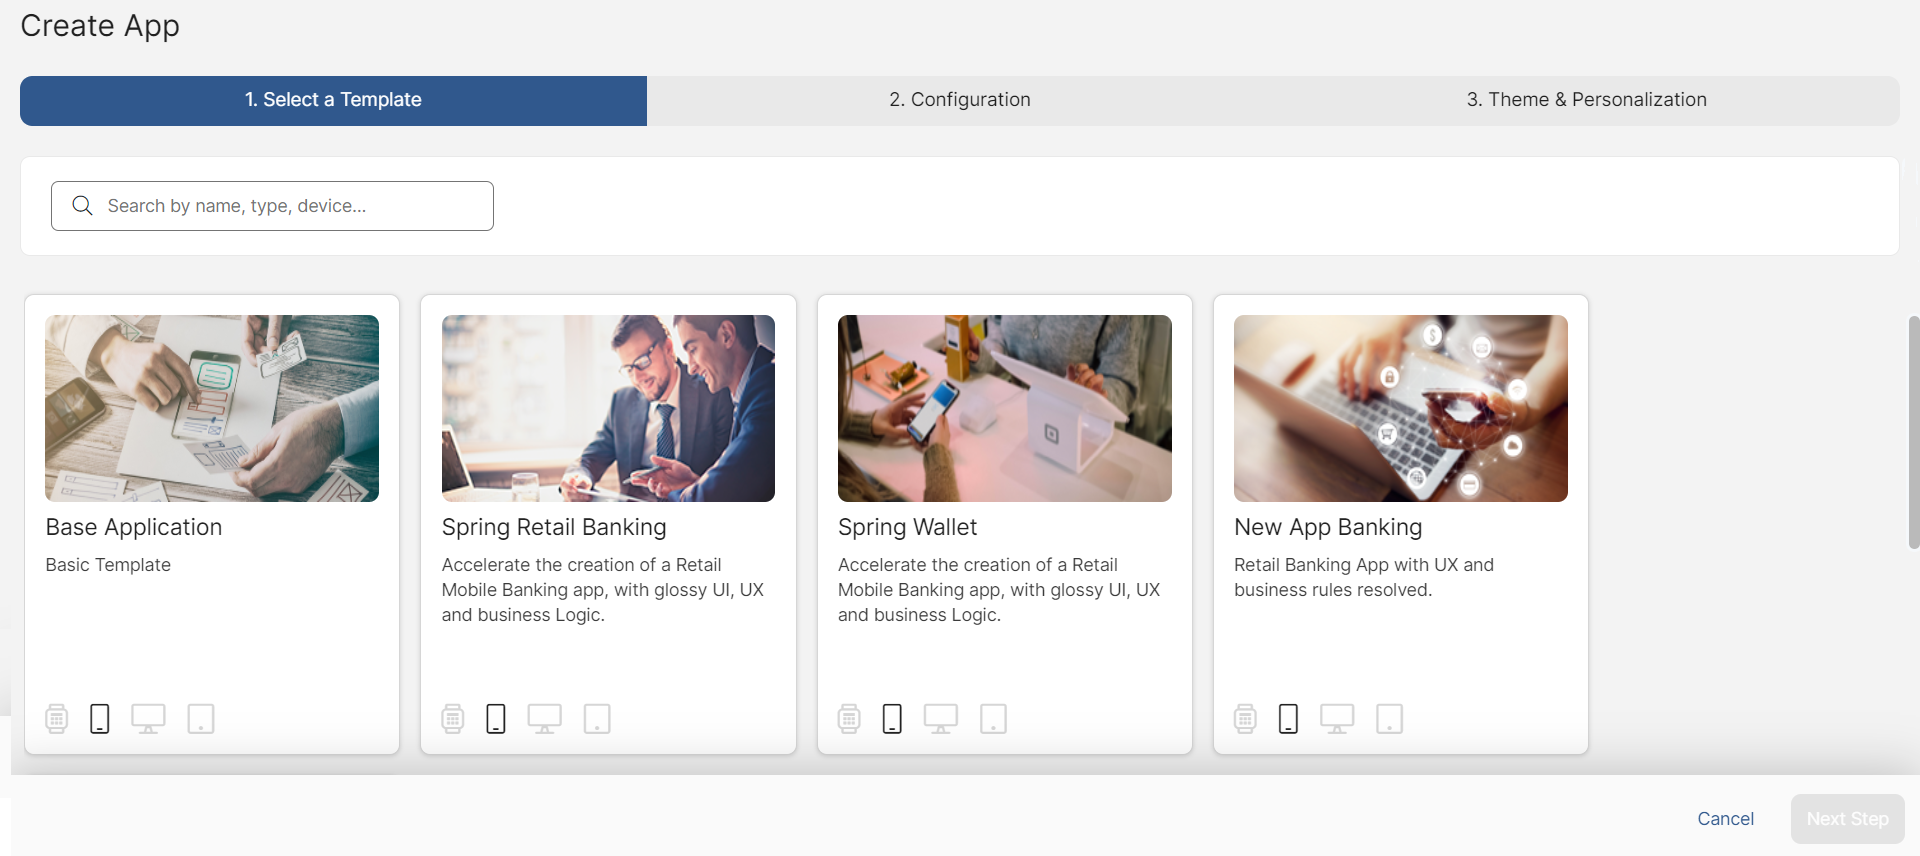
Select a template from the list and click Next Step.
Configuration:
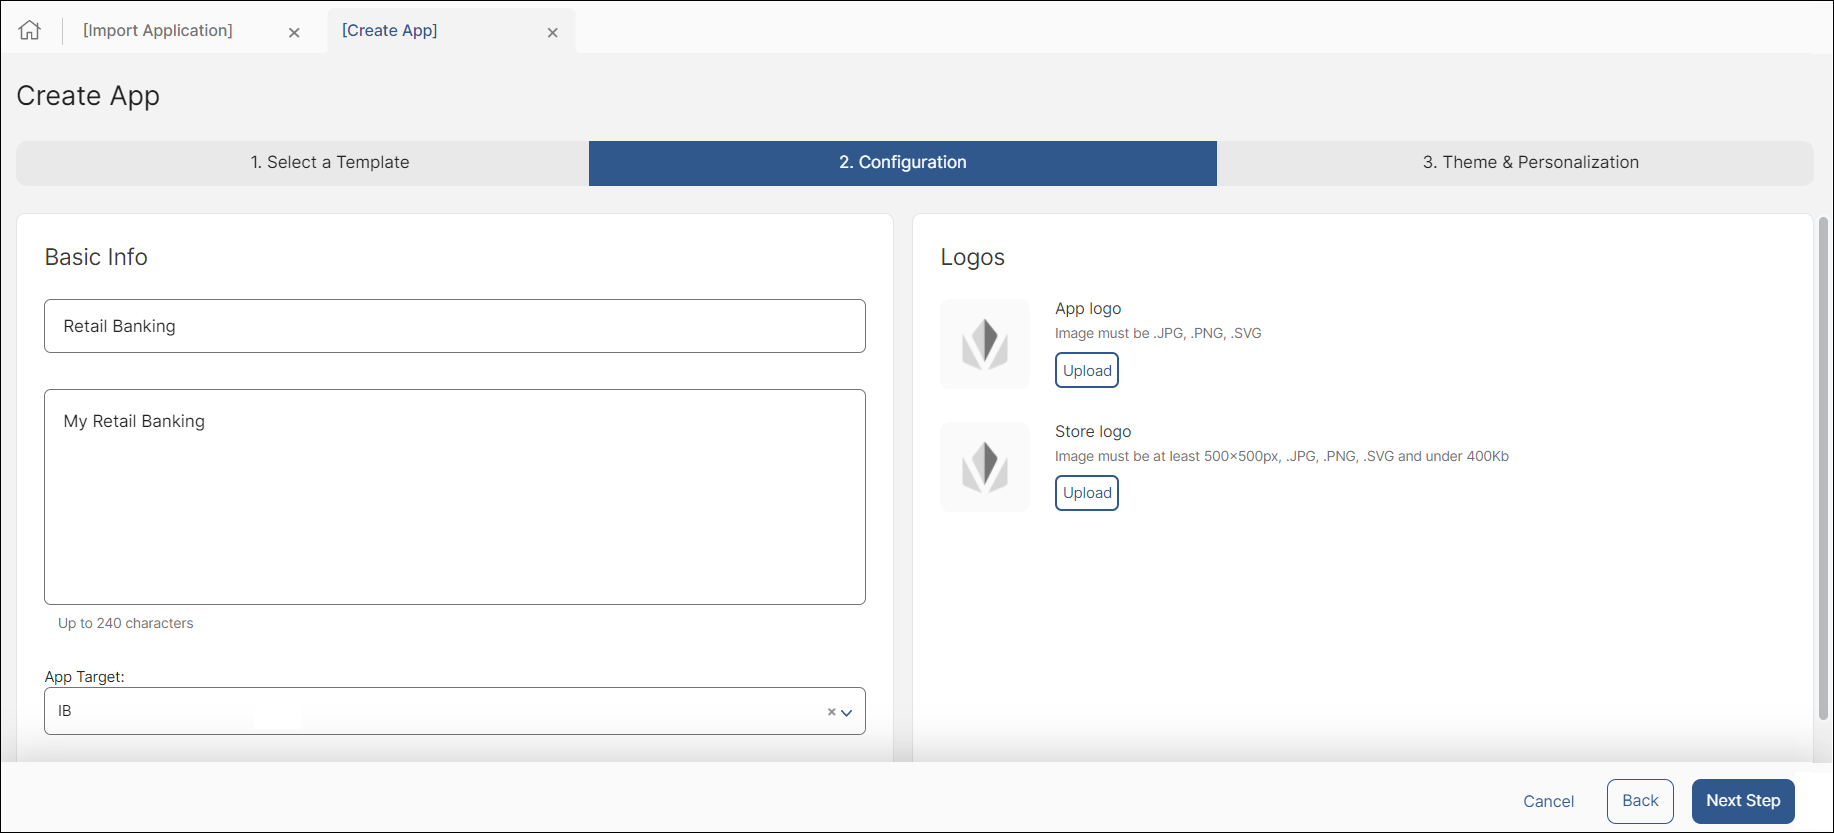
In the Basic info section, give your app a name and a description. App names must be in uppercase only and can't include spaces. For example "MY_APP_01" is a valid name, but "My App" is not a valid name. The name and description are only for internal use and do not appear in the app stores.
Important
The app's name cannot be edited once created. Choose the name carefully.
Next, add the App logo and Store logo by clicking Upload below each. The app logo will appear within Veritran Studio to identify your app, while the store logo will appear in app stores as your app's icon once it's published.
Click Next Step.
Themes & Personalization:
Select a theme from the left menu, or create a new theme. On the right side of the screen, you can see a preview of the selected theme. Click Confirm & create.
A popup appears to show the app was created successfully. Click Start Building to finish the creation process and go to the My Screens page, or click Go to My Apps to go back to the My Apps page.
Configuration:
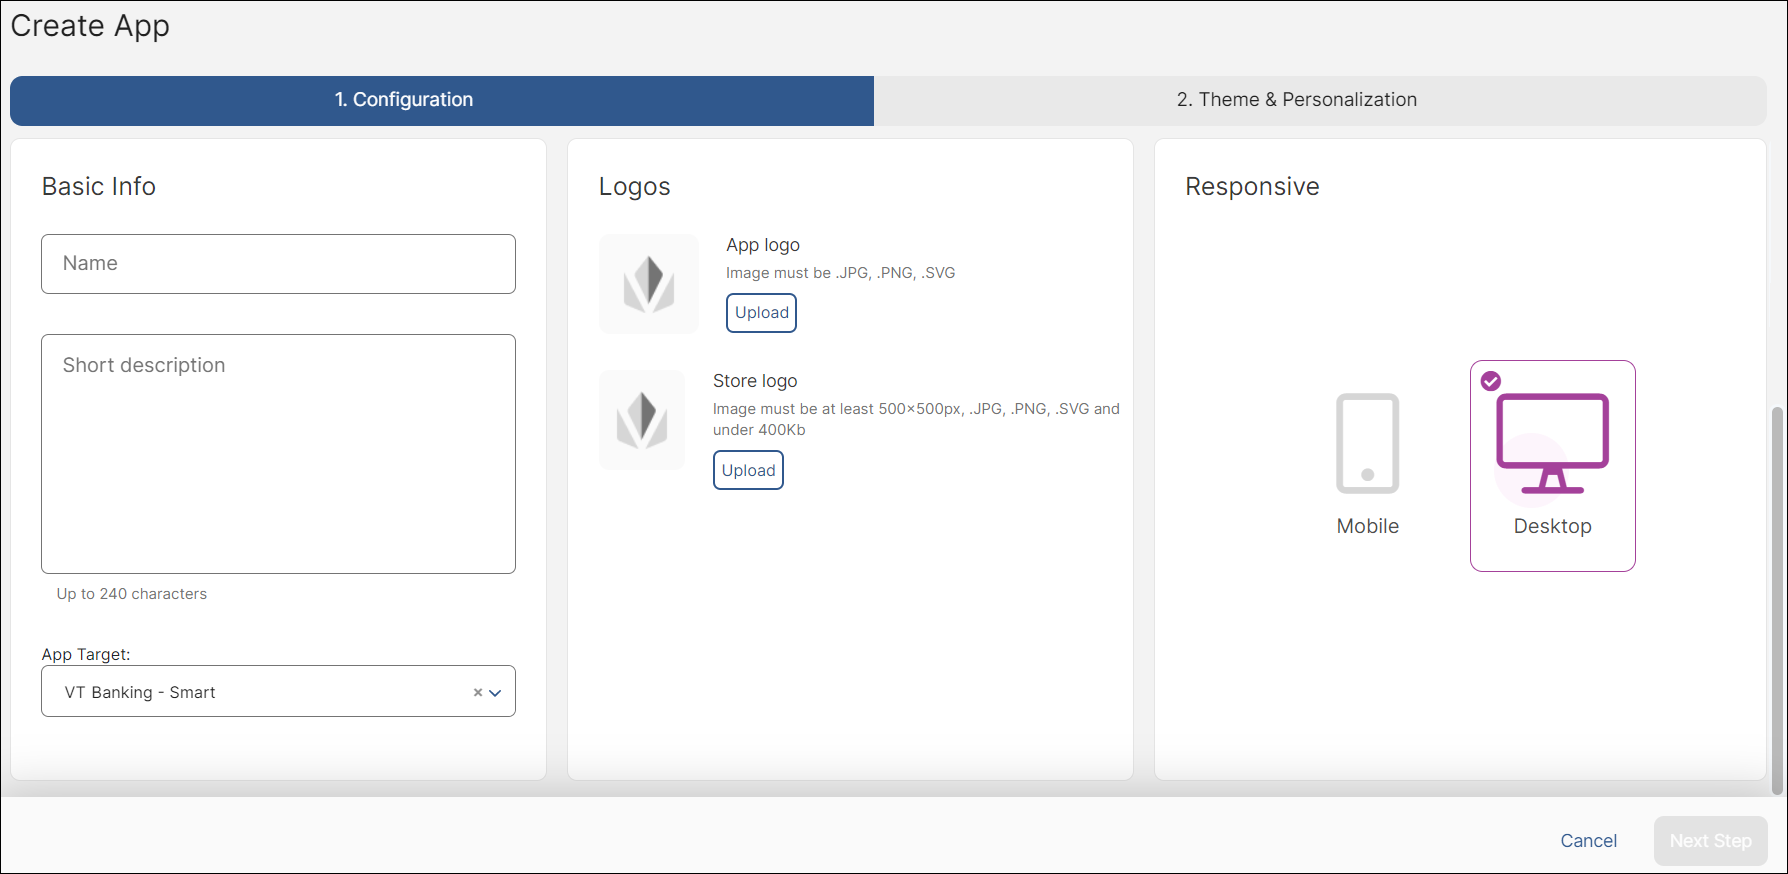
In the Basic info section, give your app a name and a description. App names must be in uppercase only and can't include spaces. For example "MY_APP_01" is a valid name, but "My App" is not a valid name. The name and description are only for internal use and do not appear in the app stores.
Important
The app's name cannot be edited once created. Choose the name carefully.
Next, add the App logo and Store logo by clicking Upload below each. The app logo will appear within Veritran Studio to identify your app, while the store logo will appear in app stores as your app's icon once it's published.
Then, select a responsive design option. Choose Mobile if you want to design your app prioritizing mobile viewing, or choose Desktop if you want to prioritize web viewing.
Click Next Step.
Themes & Personalization:
Select a theme from the left menu, or create a new theme. On the right side of the screen, you can see a preview of the selected theme. Click Confirm & create.
A popup appears to show the app was created successfully. Click Start Building to finish the creation process and open the app in the Visual Builder, or click Go to My Apps to go back to the My Apps page.