Transactions (Product Menu)
In this page, you can authorize transactions already created in the System menu and associate them to a product. By adding the transaction in this section, the Authorizator process determines the routing of the transaction, sends a response message and stores the transaction's information in the transaction log.
You can also find configurable transactions created and published in Studio. Configurable transactions are already authorized for the product selected in Studio during their creation.
To see authorized transactions for a product or to authorize a new transaction for it, first select the product you want to work with from the Products drop-down menu. Then, click Auth > Transactions. See the image below to learn about this page.
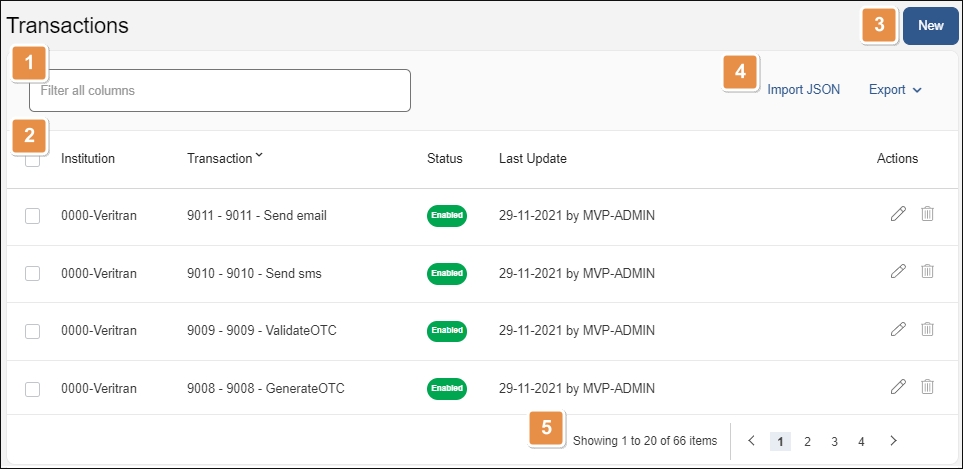
Search bar. Type a keyword to search authorized transactions by institution or transaction name.
Transactions list. Shows transactions authorized in relation to the product selected. The information is divided into the following columns:
Institution
Financial Institution where the transaction is being executed.
Transaction
Code and description of the transaction.
Status
Shows if the transaction is enabled (operating) o disabled.
Last Update
Date when the transaction was last updated.
Actions
Edit
Click to edit the transaction's configuration on the Auth section.
Delete
Click to delete the transaction's authorization and remove it from this list. If this option is grayed out, you don't have the necessary permission to perform this action. This action doesn't delete the transaction from the system.
New. Click to authorize a new transaction. Before you can authorize a native transaction, it must have been created from the System menu.
Tools.
Import JSON
Click to import a JSON file containing a transaction's structure. This option is available to import transactions created with the configurable host.
Export
From this option, you can export one or more transactions which you can then import into another environment. Select one or more transactions and click Export > Export XML or Export JSON. You can also click Export > Export All XML or Export All JSON to export every transaction authorized in the environment for the product selected.
Pagination. Click the arrows or page numbers to navigate through transactions.