Create a Branch
Note
Before creating a new branch, remember to activate branching for the selected app or module. Refer to Collaborative Building to learn how to activate branching.
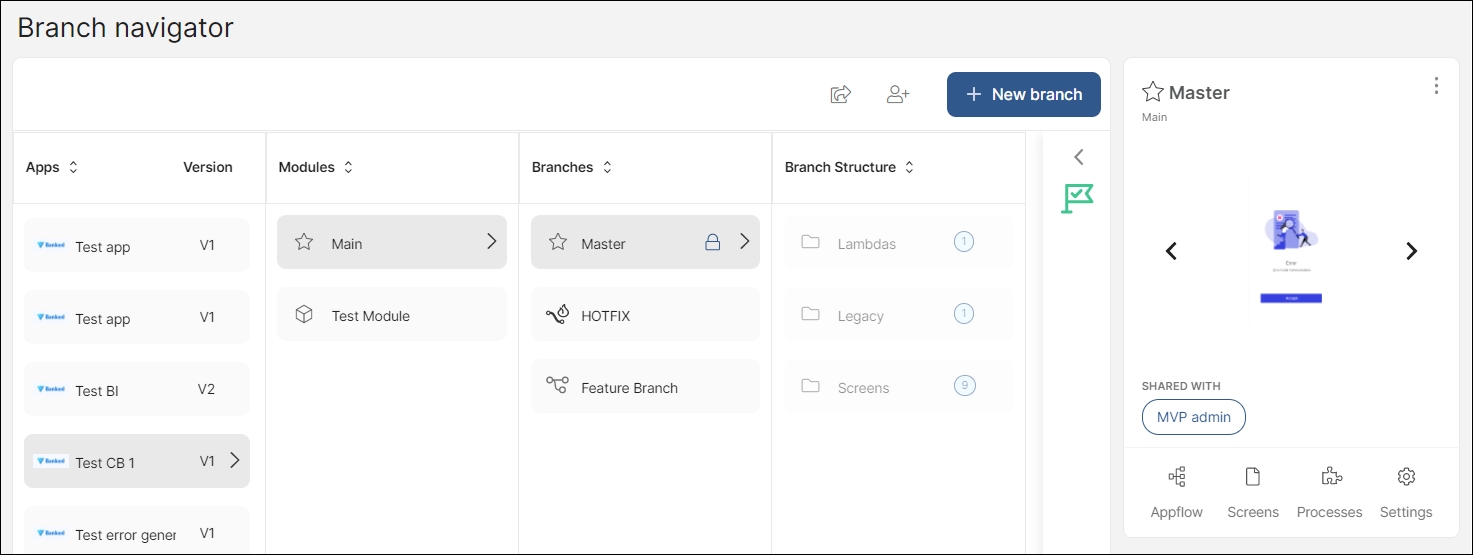
To create a new branch for your app or module, open the Branch Navigator (Global > Branch Navigator). Find your app in the Apps column and click it. The Modules column opens, showing the main module of your app and its linked modules, if any.
Select Main or the linked module for which you want to create a branch. The Branches column opens, showing the Master branch of the module you selected. Click Master and then + New branch.
The Create Branch popup opens. First, select whether you want to create a feature branch or a hotfix branch. The rest of the fields vary according to your selection.
Feature branches allow you to work on a copy of Master, edit the application or module or develop new features without affecting the productive version. You can have several feature branches open at the same time.
Complete the following fields in the Create Branch popup.
Branch Name | A name to identify the branch. |
Description | A description for the branch. This field is optional. |
Test Target | The target where you will be testing the branch, associated to a binary. By default, it is the same target you selected when configuring your application. |
Components and Functions | Use the same components and functions that are already being used on the Master branch (reuse) or create a copy of them (duplicate). |
Click Create. A popup opens to confirm the branch was created. You can start making the necessary changes to the branch's settings, screens or processes.
Hotfix branches allow you to work on previous versions of your app by making a copy of a previous version This is useful to implement an urgent, small fix on a particular version that needs to be tested and committed in a short period of time.
You can only create hotfix branches for applications (main modules), and not for linked modules. Only one hotfix branch can be active at once, so delete the existing hotfix branch to create a new one.
Complete the following fields in the Create Branch popup.
Hotfix Branch Name | By default, your hotfix branch will be named Hotfix and cannot be modified. |
Version | Select the master version of the app you want to work on. This is the version where you apply the fix. |
Description | A description for the hotfix branch. This is optional. |
Test Target | The target where you will be testing the branch, associated to a binary. By default, it is the same target you selected when configuring your application. |
Components and Functions | Use the same components and functions that are already being used in the Master branch (reuse) or create a copy of them (duplicate). |
Click Create. A popup opens to confirm the branch was created. You can start making the necessary changes to the branch's settings, screens, lambdas or legacy processes.
Once a hotfix branch is ready to be delivered, you can also create a hotfix version and export it with the Create Hotfix Version and Export Hotfix Version buttons. Read more about these processes in Branch Navigator.