Create or Edit an SDK
Important
Only the Mobile Team can create or edit an SDK. If you don’t have the permissions, you won't have these options available. Contact the Mobile Builder team for assistance.
Create an SDK
To create an SDK, go to the SDKs page. Then, follow the instructions listed below.
Best Practice
Make sure that the information here provided coincides with that of the SDK documentation.
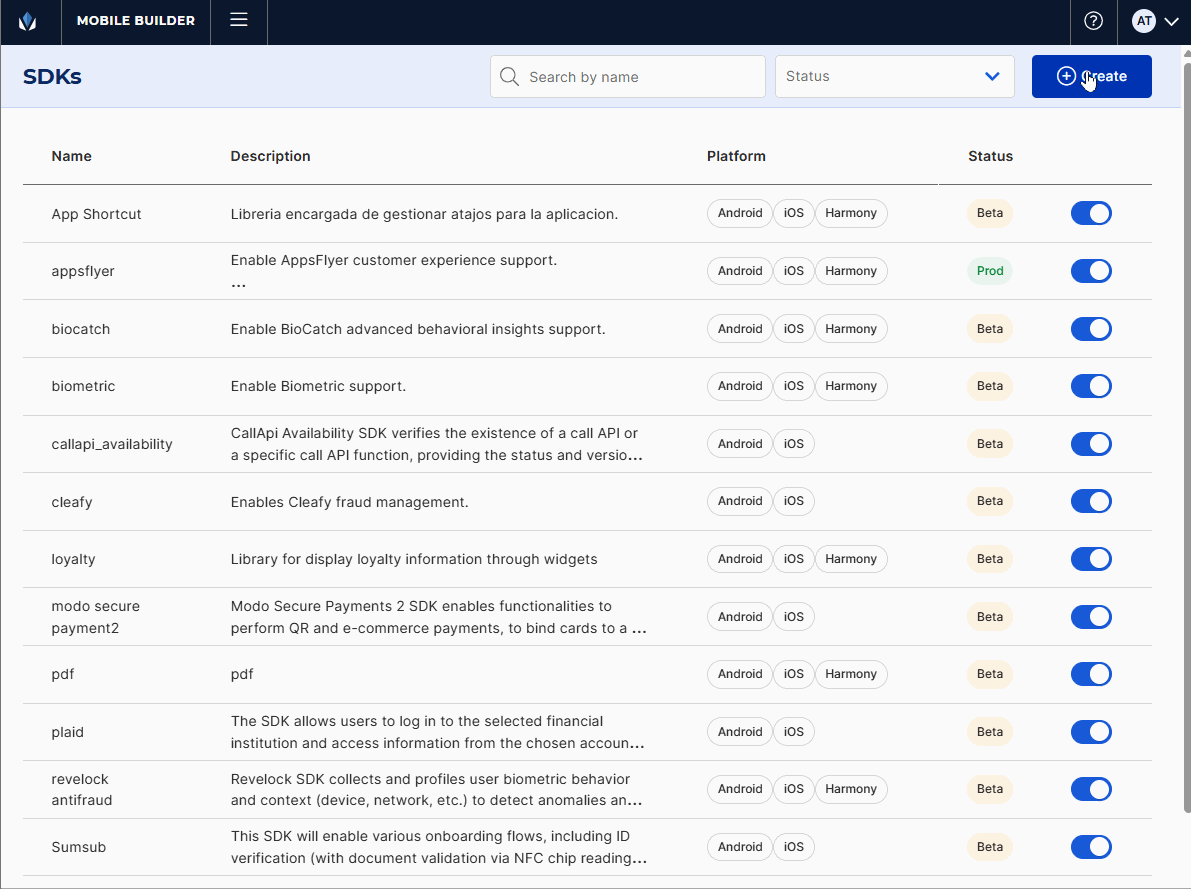
Click + Create.
In the Create SDK panel that opens, enter a unique name to identify the SDK. For this example, enter CallAPI Availability.
Best Practice
Do not use "lib" or "sdk" in the name as it is implied. If it is an SDK associated to a call API, indicate it in the name, as in the example above.
In the Description field, enter meaningful information about the SDK's purpose (max. 100 characters). This description is displayed in the Add SDK panel when adding the SDK to an app. For this example, enter CallAPI Availability SDK verifies the existence of a call API or a specific call API function.
Then, select the platform or platforms (iOS, Android or Harmony) for which you want to create the SDK. For this example, select the three platforms.
Complete the Library field with the SDK library created in GIT. A validation is performed to check that the library exists in GIT repository. For this example, enter lib_callapi_availability.
Note
The library must start with preffix lib_.
If the SDK has dependencies with other integration, switch the toggle on and select the dependencies for each Platform from the corresponding drop-down menu. For this example, there are no dependencies.
Choose a status for the SDK. The statuses available are: Beta, that indicates that the SDK is still under development by the Mobile team and that using it implies assuming the associated risks, and Prod, that indicates that the SDK development has been completed by the Mobile team. For this example, choose Beta.
Note
When adding a Beta SDK to an app, it displays an informative message for users to know that the SDK should only be used for testing purposes.
Finally, if the SDK requires the configuration of specific parameters to integrate it to an app, you must define them in this page. To do so, follow these steps:
Click + Add parameter on the top right corner of the page. The Parameter modal opens.
In the Field name field, enter a name for the field to be configured. For example, API ID.
In the Field type field, click the arrow and select an option from the drop-down menu: TextInput, TextArea, DropDown, DropDownMultiple and Toggle. Depending on the option selected, you must configure the following:
TextInput
Mail validation: Text input that validates email format.
URL validation: Text input that validates URL format.
Custom validation: Additional field used to enter a regex for format validation.
TextArea
JSON validation: Text input that validates JSON format.
XML validation: Text input that validates XML format.
Custom validation: Additional field used to enter a regex for format validation.
DropDown
Click Add. Then, complete the Label and Value fields. You can add as many values as required. To delete a value, click the trashcan icon to the right.
Label: Name of the option that will be displayed in the selector.
Value: Value referenced by the displayed option.
DropDownMultiple
Click Add. Then, complete the Label and Value fields. You can add as many values as required. To delete a value, click the trashcan icon to the right.
Toggle
true value: Value shown when the option is set to true.
false value: Value shown when the option is set to false.
For this example, select TextInput and add the following custom validation to set the field's character limitations: ^[a-zA-Z0-9-_./]+$, that indicates that only lowercase and uppercase letters from a to z are allowed, numbers from 0 to 9, as well as hyphens, underscores, periods, slashes and currency signs.
If you do not want the value introduced by the user to be displayed, switch on the Hide value toggle that appears when choosing a field type.
In the Tooltip field, add a tooltip that briefly describes the field. The tooltip must indicate the user adding the SDK how to configure that field and if there are any limitations. Make sure that the information here provided coincides with that of the SDK documentation. For this example, enter API ID whose existence you want to validate..
In the Key field, add a key to map the parameter in the mobile code. The user only needs to enter the key name as the field already includes the prefix: "vtua.ini.lib." For example, the user enters callapi_availability, but the backend sends vtua.ini.lib.callapi_availability.
Choose the section where the parameter will appear in the Add SDK panel: Global, if the parameter applies to all platforms, or Android, iOS or Harmony. For this example, select Global.
Choose a status for the parameter: Required, if the parameter is mandatory, or Optional. For this example, select Optional.
Once you have configured the necessary fields, click Create to finish the process. The modal closes and the new parameter is displayed in the parameters list. Repeat this process for each parameter. Once each parameter is added, click the pencil icon to the right to edit it or the trash icon to delete it.
Once you have configured the necessary fields and added the required parameters, click Save to finish the creation process. You are redirected to the SDKs page, and a message appears confirming that the SDK was successfully created. By default, new SDKs appear as enabled.
Edit an SDK
To edit an existing SDK, find the SDK in the list and click the pencil icon to the right. The Edit SDK page opens. Here, you can edit the configurations previously defined or add new parameters, as explained in the section above. Once you edit all the necessary fields, click Save to implement the changes. You are redirected to the SDKs page, and a message appears confirming that the SDK was successfully updated.
Note
Once an SDK development and testing finishes, its status must be modified from Beta to Prod from this panel.