Assets
Assets are images, icons, fonts, video files, audio files or widgets that can be used in the app screens. The Assets page (Menu > Design > Assets) shows a list of all the resources available for use in all the apps or modules within the environment. From this page, you can see and edit assets uploaded, upload new assets, duplicating them to other branches, changing their type, and and import and export them.
Note
Even though you work with assets within a specific branch of an app or module, assets are global —meaning that they can be used for all apps and modules in the environment. However, when you create a new branch, Studio automatically creates a Local folder in the Assets page where you can manage assets that are specific to that branch. Refer to the Local Assets section below to learn more.
Navigate the Assets page
Important
By default, the first card you see in the assets list belongs to the Local folder, which contains the assets that can only be used in that specific context. Refer to Local Assets below to learn more.
To access the Assets page from the Menu, click Design > Assets.
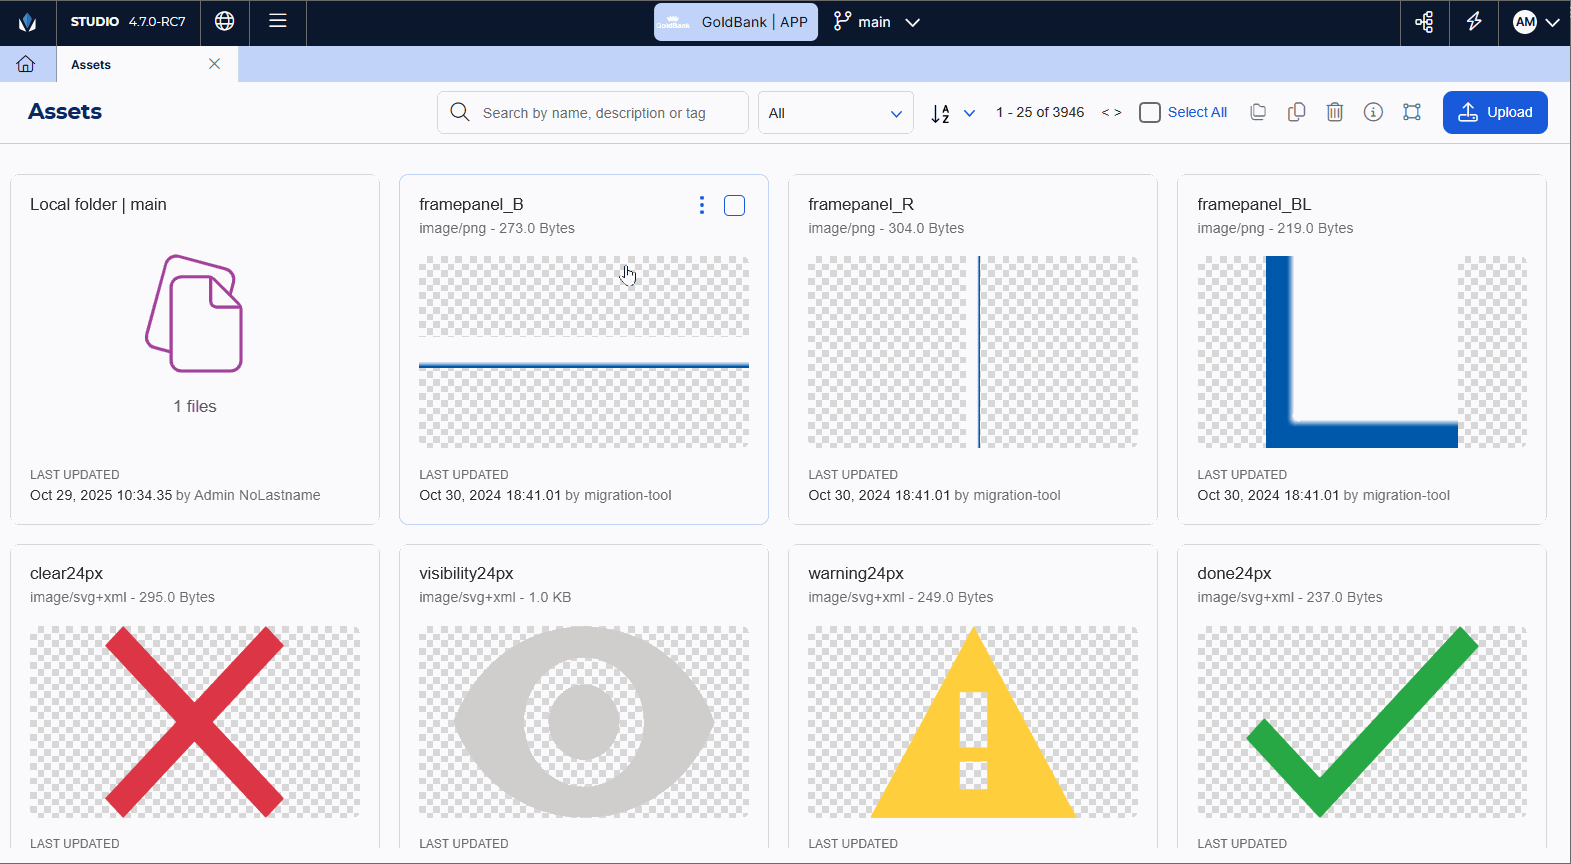
Each asset uploaded is represented by a card, that includes an image of the asset (in case of bitmap files in .JPG or PNG format), its name, asset type and format and size (in bytes). In addition, if you hover over the card you can see the when the time and date when the asset was uploaded or updated and the user who executed that action, together with the asset settings and additional actions.
Tip
The preview image is available for bitmap files (.JPG, and .PNG format) and SVG files.
To find an asset, scroll down the list or narrow it down by typing the name, description or related tags. You can also narrow down the list of assets by selecting an option from the drop-down menu to the right of the search bar and filter assets by file or folder only, by type, or according to whether they are included in the app. The options include: All, Only Folders, Only Files, Image, Icons, Fonts, Video, Widget, Audio, Only if I use it, Never, Always.
To organize the assets displayed (either before or after a search), click the A-Z icon and select one of the options available: Newest first, Name A-Z, Name Z-A, Size low-high, Size high-low. The numbers to the right of the organization criteria show the number of assets in the page. Click the back and forth arrows to move through assets pages.
Once you found the asset or assets you want to work with, you can perform actions from the toolbar or from the asset card.
To choose an action from the toolbar, you must first hover over the asset card and click the checkbox in the top left corner. Then, select an option. Read more in the table below.
If you want to perform any of these actions to all the assets in bulk, click the Select All checkbox and then perform any of the actions described below.
Important
These actions are also available if you select more than one asset. If so, the changes will be applied to all the assets selected.
Move to other folder | Click |
Duplicate to Branch | Click |
Delete | Click WarningDeleting an asset will affect all app screens using it. Make sure to delete only assets that are not in use. |
Info | Click To learn more about the Info modal, read Upload or Edit an Asset. |
Make available as icons | Click |


If you don't need to use or edit existing assets, but need to upload new assets instead, click Upload. Read Upload or Edit an Asset to learn more.
You have two options: File Upload or Folder Upload.
If you select File Upload, the file browser opens. Find the resource you want to upload and click Open. The resource will be directly added to the Assets list.
Important
The resource file name cannot be changed. Make sure to use letters, numbers and _ only. If you use other characters, the file won't be uploaded.
For each asset folder, you can see the folder’s name, last modified date, and a preview of some of the images inside. Empty folders show the message Add files here. Double-click any folder to open it.
Local Assets
Local assets are assets that can only be used in the context (selected app or module's branch) that you are working on. They are located in the Local folder, which, by default, is the first card you see in the assets list.
Assets created in the assets page are considered global and are available for every app in Studio. If you want an asset only to be available for your branch, you can either access the Local folder and upload it there or move it from the list of assets to the Local folder once uploaded, using the option Move to another folder in the actions toolbar, explained above.