Create a REST Service
In Studio, you can invoke a REST service to use HTTP communication protocols in your environment. The platform allows you to build a URL with static sections, business parameters and variables, and define dynamic headers that can be linked to variables or business parameters when building a configurable transaction.
Follow the instructions below to create a REST service.
In the transaction logic repository, click External Services in the Overview or go to Logic > External Services from the top menu.
In the External Services page, go to the REST tab and click + Create.
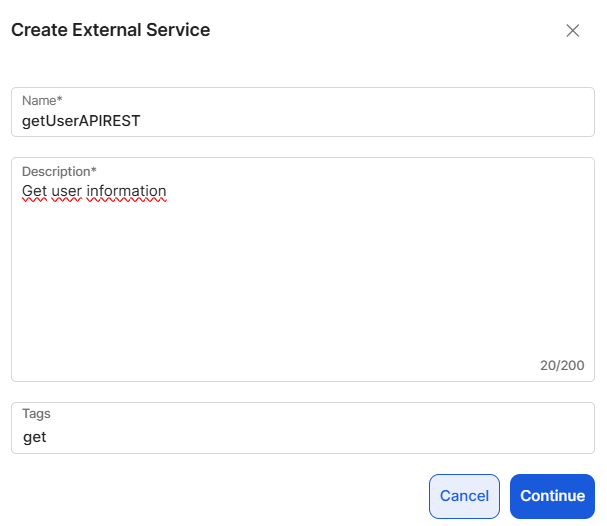
In the modal window, identify the service with a name that represents the information and a description that explains its functionality. Optionally, add tags as keywords to make the service easier to find. Click Continue.
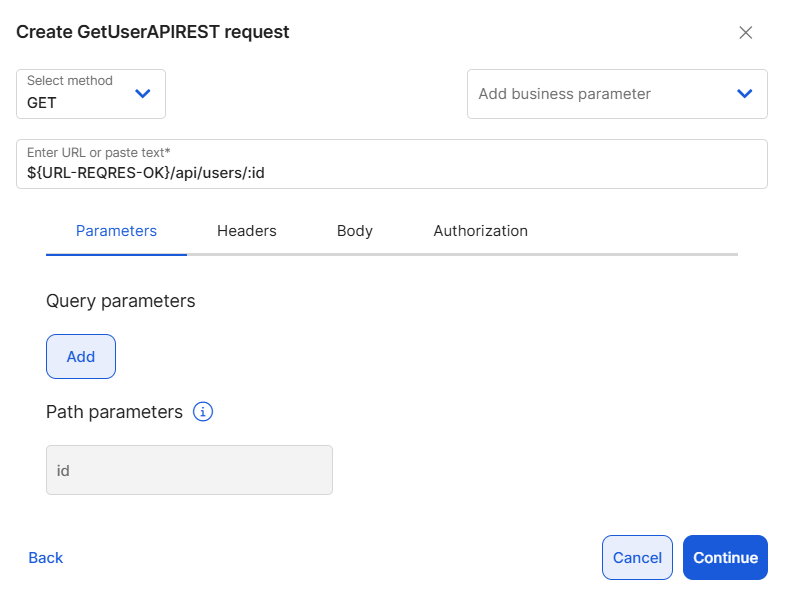
Select the HTTP method from the drop-down menu. Methods available are: GET, POST, PUT, PATCH, DELETE.
Add the API URL (endpoint exposed by the external system containing the required information) provided by the client or the service owner. Instead of typing the URL, you can reference one or more business parameters previously created in Studio by clicking the Add business parameter drop-down menu, or by entering the business parameter name in the URL following the ${CODE} format. For example, ${URL-REQRES-OK}.
Note
The Business Parameters list retrieves all the business parameters with a HOST process type and their values from the Studio environment.
You can also add a path parameter to the URL using the following format: "/:pathparam". Doing so adds the Path params section that contains the path parameter included in the URL.
Important
Including path parameters to the URL also adds it as an input socket to the REST service action node when it is in use in a transaction. This way, the parameter values can be dynamically modified within the transaction.
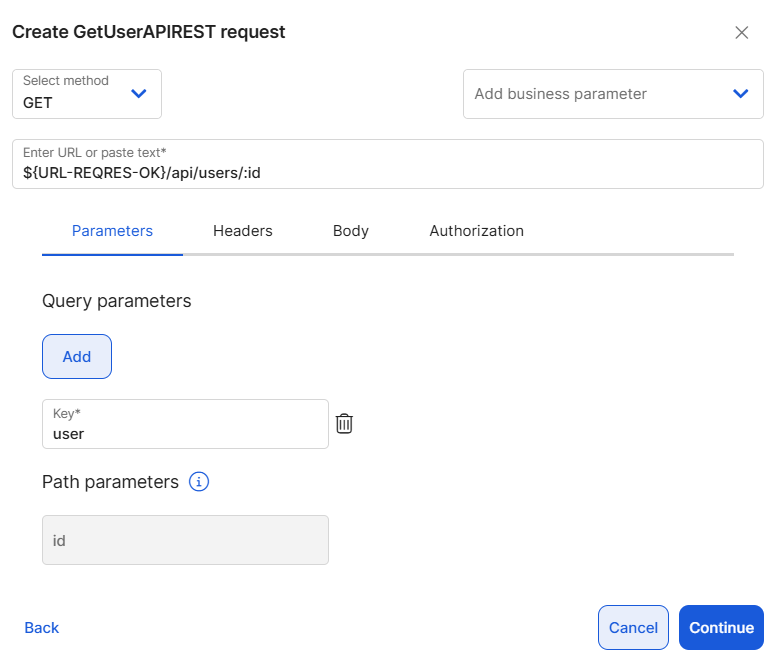
Add query parameters to apply dynamic filters to the request. These are optional parameters users can add when submitting requests to the API that can filter, sort, paginate, or search resources. Click Add and define a parameter key. In the example below, the query parameter filters data for a specific user.
Important
Including query parameters to the request also adds it as an input socket to the REST service action node when it is used in a transaction. This way, the parameter values can be dynamically modified within the transaction.
Click Headers to go to the next tab. Here, review the system-generated headers with their values. These headers are: Content-Type, Connection, X-Caller-Id and X-Correlation-Id. You can edit them as necessary or delete them, or click Add to add more headers as needed.
You can define headers with static or dynamic values:
To create a header with a static value, select From static value in the drop-down menu and enter the value.
To create a header with a dynamic value, select From business parameter and select the parameter from the drop-down menu.
To create a header with a dynamic value provided from a configurable transaction, select From input. This way, the header appears as an input in the API REST node so that it can obtain information from the transaction flow.

Click the Body tab. The request body is the primary mechanism for sending structured data to the service. It provides the server with the information required to process the request and return a response. Enter the JSON that will be sent to the service. For example:
{"email":"jdoe@veritran.com","password":"12345"}Important
The keys in a JSON are added as input sockets to the REST service action node when it is in use in a transaction. They can be found in the body section. This way, their values can be dynamically modified within the transaction.
Click the Authorization tab. This tab contains two sections: Bearer and Custom. The bearer token is the user authentication method supported by Middleware. If necessary, you can add another type of authentication in the Custom section.
To add a bearer or custom token, click Add. You can create static or dynamic tokens.
To create a token with a static value, select From static value in the drop-down menu and enter the value.
To create a token with a dynamic value, select From business parameter and select the parameter from the drop-down menu.
To create a token with a dynamic value from a configurable transaction, select From input. This way, the bearer token appears as an input in the API REST node so that it can obtain information from the transaction flow.
Click Continue.
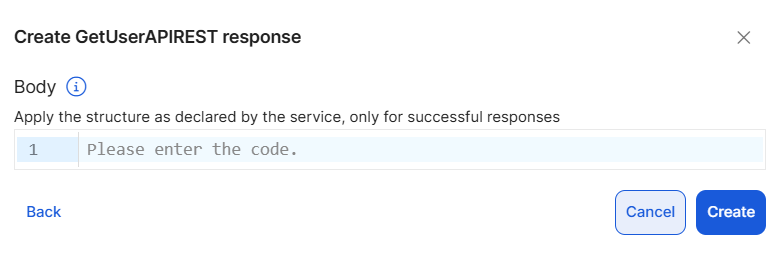
In this step, you can add a JSON body for the response. This JSON helps define the structure used to parse the response returned by the service.
Important
If the service response matches the defined structure, the response objects are automatically mapped in the configurable transaction in the Outputs tab (Successful Response section). If the structure does not match, or if no response body is defined, the transaction is still executed, but the response data is not parsed and appears under the Default section. See below for an example:
{"name":"morpheus","job":"zion resident","updatedAt":"2025-10-28T17:47:25.035Z"}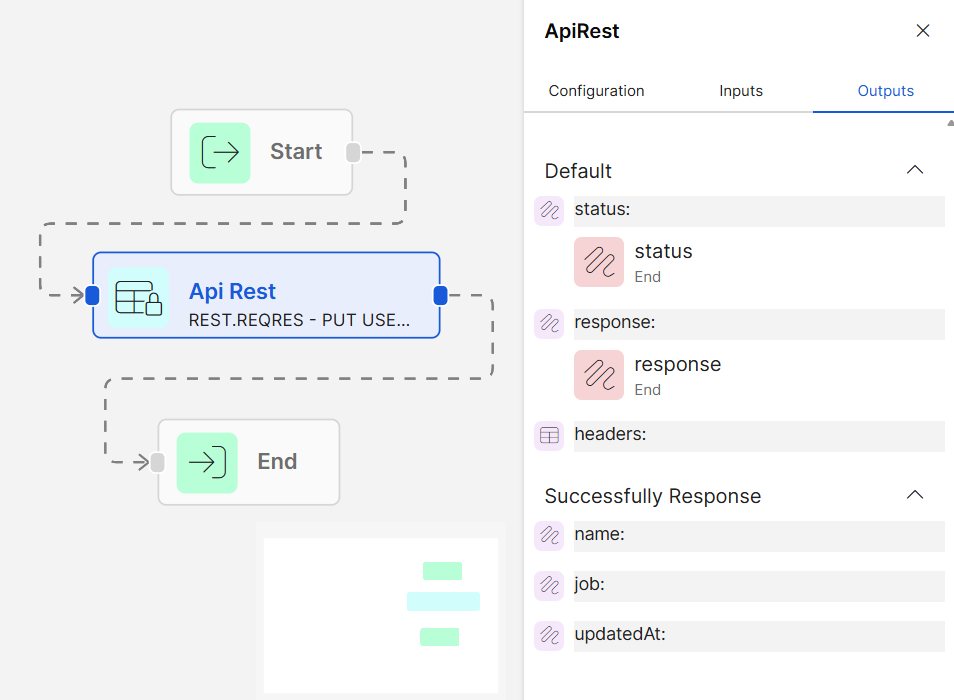
Click Create to finish the creation process.
The Commit message pop-up window opens. Complete a description for the commit and the JIRA ticket linked to the solution or functionality that is being built and click Save.